Windows 10 Automatic Repair Loop: 7 Fixes to Escape It
Seeing Preparing Automatic Repair, then Your PC did not start correctly, and then a restart again and again is the classic Windows 10 automatic repair loop. The PC keeps trying to fix itself and failing. These seven fixes show how to escape the Windows 10 automatic repair loop without losing your files in most cases.
Quick answer: boot into Advanced options, try Startup Repair and System Restore, rebuild boot files with bootrec, run chkdsk and an offline SFC scan, then disable the loop with bcdedit /set {default} recoveryenabled No. Reset the PC only if all else fails.
What Causes Windows 10 Automatic Repair Loop?
The loop begins when Windows fails to start several times, so it launches its repair tools, which then also fail. Common causes are: Problems like this often travel together, so it also helps to know the Windows RE image fix, the SFC repair service fix and the MEMORY_MANAGEMENT blue screen guide.
- A damaged boot configuration (BCD) or master boot record.
- Corrupted system files after a failed update.
- A bad driver or recently installed software.
- Disk errors or a failing drive.
- A sudden power loss during an update.
How to Fix Windows 10 Automatic Repair Loop: Step-by-Step
Step 1: Force your way into the recovery menu
If the PC loops without reaching a menu, hold the power button during boot to turn it off, and repeat this three times. On the next start Windows should show Recovery with Advanced options. Choose See advanced repair options, then Troubleshoot, Advanced options. If you have a USB installer, see the USB repair guide. If this first step does not solve it, the Windows RE image fix and the SFC repair service fix cover related causes.
Step 2: Run Startup Repair and System Restore
Choose Startup Repair first. If it fails, choose System Restore and pick a restore point from before the problem. You can also choose Uninstall Updates to remove the latest quality or feature update.
Also Read: https://axeetech.com/how-to-fix-windows-re-image-was-not-found-complete-guide/
Step 3: Rebuild the boot files
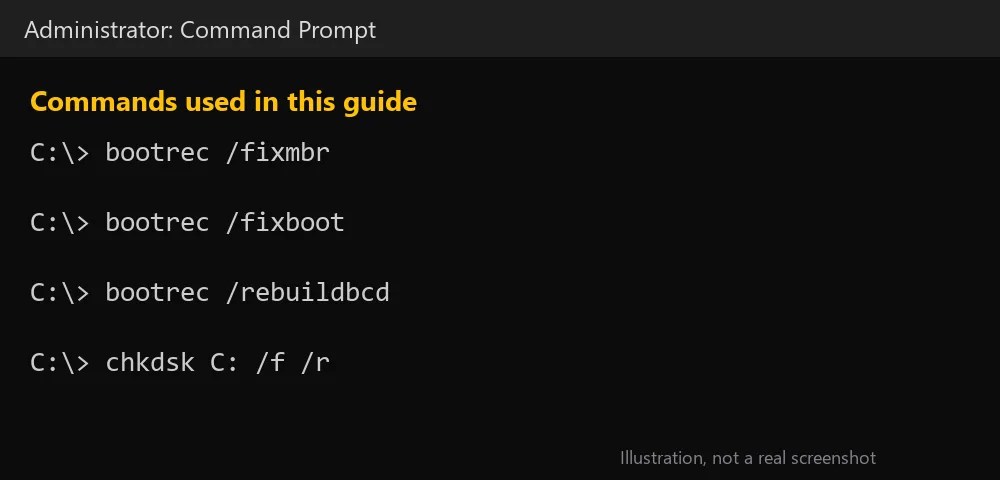
Open Command Prompt from Advanced options and run bootrec /fixmbr, bootrec /fixboot, bootrec /scanos and bootrec /rebuildbcd. If bootrec /fixboot reports access denied, see the note in the USB repair article.

Step 4: Check the disk
In Command Prompt, run chkdsk C: /f /r. The drive letter inside recovery can differ, so verify it with dir first. Disk errors are a very common reason for repair loops.
Step 5: Repair system files offline
Run sfc /scannow /offbootdir=C:\ /offwindir=C:\Windows, replacing the letters if your Windows drive differs. Then run DISM /Image:C:\ /Cleanup-Image /RestoreHealth. The Microsoft DISM guide shows the offline options.
Step 6: Disable automatic repair temporarily
To stop the loop and see the real error, run bcdedit /set {default} recoveryenabled No. This is documented in the bcdedit reference. You can re-enable it later by setting the value to Yes. Also try Startup Settings and choose Disable automatic restart after failure.
Step 7: Reset this PC as a last option
From Troubleshoot choose Reset this PC and Keep my files. If that fails, reinstall Windows from the USB after copying your files through Command Prompt and Notepad file dialogs. Back up your data first whenever possible.
Disable Automatic Restart on System Failure
If a blue screen flashes too fast to read, turn off automatic restart. Open sysdm.cpl, Advanced, Startup and Recovery, Settings, and untick Automatically restart. Next time you will see the stop code on screen, which helps you search for the cause. Our guide on crash logs explains how to read what Windows saved.
After You Escape the Loop
Once Windows boots, install updates, update drivers with our driver update guide, and run a full virus scan. Back up your files and create a restore point. If the loop returns, check your drive health, since failing disks are a leading cause.
Common Mistakes When Fixing Windows 10 Automatic Repair Loop
- Running bootrec commands against the wrong drive letter.
- Resetting the PC before trying Startup Repair and System Restore.
- Leaving automatic repair disabled forever.
- Ignoring a failing drive that keeps causing the loop.
Quick Recap: Windows 10 Automatic Repair Loop
Reach the recovery menu, try Startup Repair and System Restore, rebuild the boot files, check the disk and repair system files. If the Windows 10 automatic repair loop remains, disable it to read the true error, and reset only as a last step.

Windows 10 Automatic Repair Loop FAQ
What causes the Windows 10 automatic repair loop?
Damaged boot files, corrupted system files, bad drivers, disk errors or an interrupted update are the usual causes.
Will I lose my files?
Not with Startup Repair, System Restore or boot fixes. Reset this PC can keep files, but back up when you can.
How do I stop the loop temporarily?
Use the bcdedit command to set recoveryenabled to No from Command Prompt in recovery.
Can a failing hard drive cause it?
Yes. Run chkdsk and check drive health, and replace the drive if errors continue.

Axee Davies is the founder of AxeeTech, publishing gaming guides, codes, and Windows how-tos since March 2013. A tech enthusiast for 13+ years — starting with smartphones and Android rooting — he now runs a site that puts out a new guide every day for Roblox players, traders, and Windows users. More about AxeeTech